You’ve built your store.
Uploaded your products.
Maybe even launched ads.
But nothing shows on Google.
No impressions. No clicks. No sales.
This is where most beginners get stuck. Not because their products are bad, but because the setup is incomplete or incorrect.
Google Merchant Center is strict. It checks your website, your product data, and your trust signals before it shows anything. Even a small mismatch can block visibility without a clear warning.
This guide walks you through the exact setup process step by step, based on what actually works. No confusion. No guesswork. Just the correct way to get your products live.
What is Google Merchant Center?
Simple Definition
Google Merchant Center is a platform that lets you upload and manage your product data so your items can appear across Google surfaces like Shopping, Search, and ads. It acts as the bridge between your store and Google’s product discovery system. If you’re new and want a deeper explanation before continuing, read this detailed guide on What is Google Merchant Center.
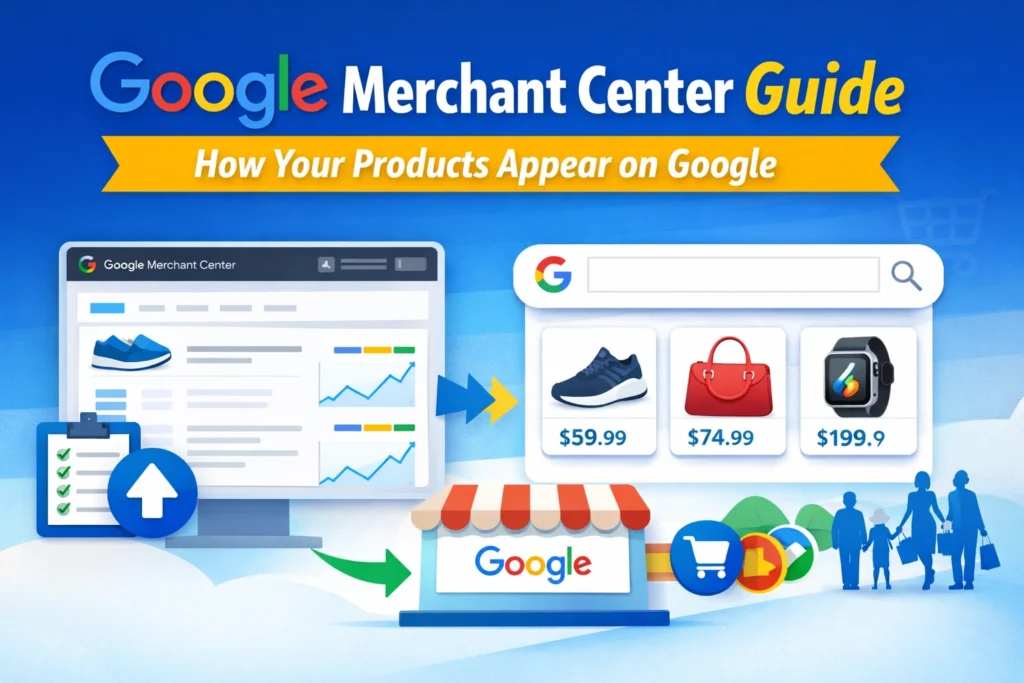
Where Your Products Appear
Once set up correctly, your products can show in:
- Google Shopping listings
- Google Search results
- YouTube product placements
- Google Ads campaigns
If you want a deeper understanding of how visibility, optimization, and approvals work together, read this complete Google Merchant Center guide setup optimization suspension recovery.
Requirements Before Setup
Most setup failures happen before people even create an account. If your foundation is weak, your account will either get stuck or flagged later.
Website Requirements
Your website must show clear trust signals:
- HTTPS enabled
- Easy navigation
- Visible contact information
- Return and refund policies
- Terms and conditions
If these are missing or hard to find, Google may block or limit your account.
Product Data Requirements
Each product must include:
- Accurate title
- Clear description
- Correct price
- High-quality image
- GTIN or brand (if applicable)
Incomplete or inconsistent product data leads to silent disapprovals. You may not even notice until impressions drop to zero.
Policy Compliance Basics
Google checks for:
- Accurate product representation
- No misleading claims
- Consistent data between site and feed
Pro tip: Most suspensions happen due to policy mismatches, not technical errors. Your product page and feed must match exactly.
Step-by-Step Google Merchant Center Setup
This is where most people rush and make mistakes. Follow each step carefully.
Step 1: Create Google Merchant Center Account
Go to the official Merchant Center website and sign in with your Google account. Choose your business type and country correctly.
Before creating your account, it’s worth understanding which account structure fits your business. If you’re unsure whether you need a standard account, a multi-client account (MCA), or separate accounts for multiple brands, read our guide on Google Merchant Center Account Structure Best Practices.
Do not guess here. This affects taxes, policies, and account behavior.
Pro tip: Use a business email, not a personal one. It helps with account trust and long-term management.
Common mistake: Selecting the wrong country or business type can cause approval delays and data issues later.
Step 2: Enter Business Information
You will need to add:
- Business name
- Country
- Time zone
Make sure this matches your website and legal business details.
Consistency matters more than people think. Google cross-checks this data.
Pro tip: Even small differences like abbreviations or spelling variations can create trust issues.
Step 3: Verify and Claim Website
This step is critical. Without it, your products will not show.
You can verify your site using:
- HTML tag
- Google Analytics
- Google Tag Manager
After verification, you must claim the website inside Merchant Center.
Verification alone is not enough.
Pro tip: Use the same Google account across Merchant Center and Analytics to avoid conflicts.
Common mistake: Many users verify but forget to claim. This blocks product visibility completely.
Step 4: Configure Shipping Settings
Shipping is not just a formality. Google uses this data to decide whether your product is accurate and trustworthy.
You need to define:
- Shipping cost
- Delivery time
- Service regions
If your website says “Free Shipping” but your Merchant Center shows a cost, your products may get disapproved.
Pro tip: Match your website shipping policy exactly. If you offer different rates based on location, reflect that clearly in your settings.
Common mistake: Leaving shipping blank or using placeholder values. This often leads to account warnings or limited visibility.
Step 5: Set Tax Information
Tax setup depends on where you sell.
- In the US, tax settings are required
- In many other countries, tax is included in the product price
Keep it simple. If your store already includes tax in pricing, make sure your feed reflects that.
Mismatch between tax settings and product price can trigger disapprovals.
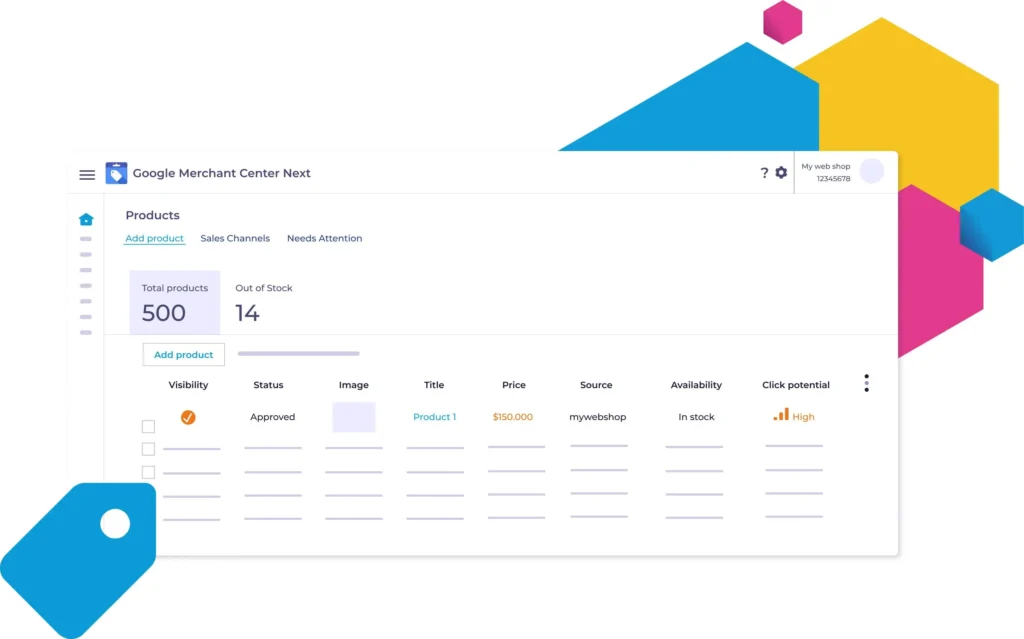
Step 6: Upload Product Feed
This is the core of your Merchant Center. Your feed tells Google what you sell.
You have four main methods:
- Google Sheets
- Scheduled fetch (from your website URL)
- Content API
- Direct integrations like Shopify or WooCommerce
For beginners, Google Sheets or platform integrations are the safest options.
Your feed must include:
- Product ID
- Title
- Description
- Price
- Availability
- Image link
Pro tip: Focus on clean, accurate data before trying to optimize. A perfect feed structure matters more than fancy titles in the beginning.
Common mistakes:
- Using promotional text in titles
- Uploading low-quality images
- Price mismatch between website and feed
- Missing GTIN or brand data
- Broken product URLs
Feed errors do not always show clearly. They often reduce impressions quietly.
Step 7: Link Google Ads Account
If you want to run Shopping ads, this step is required.
Inside Merchant Center, go to linked accounts and connect your Google Ads account.
Once linked, your products can be used in campaigns.
Why this matters: Without linking, you limit your ability to scale visibility through paid campaigns.
If you plan to run ads seriously, this is where many businesses start seeing traction after setup.
If you want to avoid setup mistakes and get your products approved faster, you can explore our Google Merchant Center services for complete setup and optimization.
Common Setup Mistakes
Even if your account is live, these issues can stop performance completely.
Product Disapprovals
- Incorrect pricing
- Missing GTIN or brand
- Misleading titles
- Policy violations
Disapproved products do not show at all.
Website Issues
- Missing policies
- Broken pages
- Slow loading speed
- Inconsistent product data
Google evaluates your site as part of trust validation.
Feed Errors
- Missing required attributes
- Incorrect formatting
- Outdated product data
- Mismatch with website
These errors often reduce visibility without clear alerts.
Policy Violations
- Misrepresentation of products
- Inaccurate claims
- Restricted product categories
Policy violations are the main reason accounts get suspended.
How to Get Approved Faster
If you want results quickly, focus on what actually works.
- Keep product data consistent across site and feed
- Add strong trust signals on your website
- Use clear and accurate product titles
- Follow Google policies strictly
- Submit a clean, error-free feed
Do not try to shortcut this process. Google rewards accuracy and consistency, not speed.
When You Should Hire Experts
Some situations are hard to fix without experience.
Signs You Need Help
- Your account gets suspended
- Products are disapproved repeatedly
- You are unsure about policy issues
- You see no impressions after setup
These are not small issues. They usually require deeper fixes.
If you’re facing any of these issues, our Google Merchant Center services can help you fix the root problems and get your products live.
What Experts Actually Do
An experienced setup specialist will:
- Fix policy mismatches
- Clean and optimize your product feed
- Align your website with Google requirements
- Resolve suspension issues
- Set up a structure that can scale
This is not just about setup. It is about making your account eligible for visibility and growth.
Conclusion
Setting up Google Merchant Center is not complicated, but it must be done correctly.
A small mistake can block your products completely. A proper setup can bring consistent visibility and sales.
The difference is not your product. It is how well your setup aligns with Google’s expectations.
Follow this guide step by step and fix issues early.
If you want faster results and fewer mistakes, getting expert help can save you time and lost revenue.
Your products deserve to be seen. Make sure your setup allows that.